
There is a common belief that people with opposite characters complete each other, that “the opposites” are more suitable, because they compensate for the missing traits in the other partner.
But it is only a belief: in most social studies it has been found that the more similar people are, the more likely their relationship will last. There is a so-called “the effect of distinctiveness “- among couples that are completely opposite, even though there are not many, so they stand out and this way the belief that “opposites complete each other” was born.
In any relationship there is the person who is more orderly and the one who is messy- at least that’s what I want to believe. My parents have been married for almost 40 years, and still my father comes home and leaves his shoes at the entrance of the house and my mother, of course, goes crazy.
In our case, it is the other way around. I’m the “terrorist”, just like The Tasmanian Devil, every room I go into, turns into a battlefield where nothing can be found. The closet is a colorful pile of fabrics, the living room is full of brushes, weights, sunglasses, necklaces, earrings, hairpins and just like my father, shoes are thrown at the entrance of the house. Dima collects and organizes all of my “Terror” thoroughly, and brings the house to the state of a museum in a few minutes, but the fact that the shoes did not have a proper place in the new apartment made him crazy.
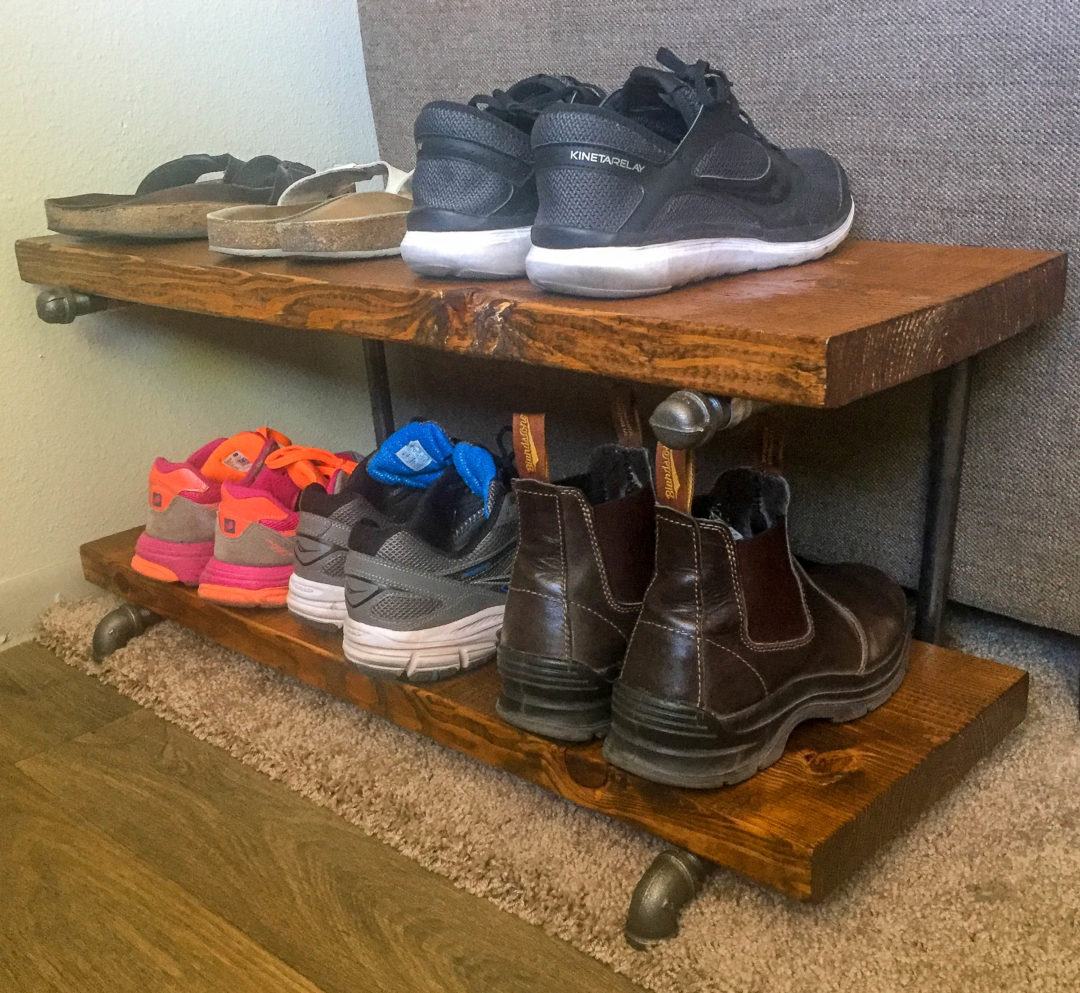
One day we had no special plans, so he decided we should build a shoe stand.

Materials
Sandpaper
1 Wood paint can
1 lacquer can
2 Lumber pieces:
– 32 inches long
– 11 inches wide
– 2 inches thick
brush
(4) 1/2 in. x 12 in. Steel Pipe Connector Industrial
(2) 1/2 in. x 10 in. Steel Pipe Connector Industrial
(2) 1/2 in. FNPT Black Malleable Iron Cap
(2) 1/2 in. Black Iron MPT Plug
(2) 1/2 in. Steel Pipe 90-Degree Elbow
(4) 1/2 in. Black Iron FPT x FPT Tee 1/2 in.
(8) pipe clips
Screwdriver
screws

Preparation
Preparation of the wooden surfaces:
1. Sand the wood, Sisyphean job – but in nice weather it can be fun
2. Paint the wood with one layer of paint, you can do as many layers as you want; we only made one layer because we did not want the wood be too dark. If you do more than one layer, you should wait an hour or so between the layers.

3. When the paint dries up, apply 2 layers of lacquer. It is best to wait 4 hours between each layer.
4. After the second layer, it is recommended to let the lacquer dry overnight.

Preparation of pipes


No Comments